● Login to the Beseye APP on your mobile device (smartphone or tablet) to add your new Beseye Camera.
● You will not be able to use the web version to add new cameras.
● Follow below steps: (※ We take iOS device for example.)
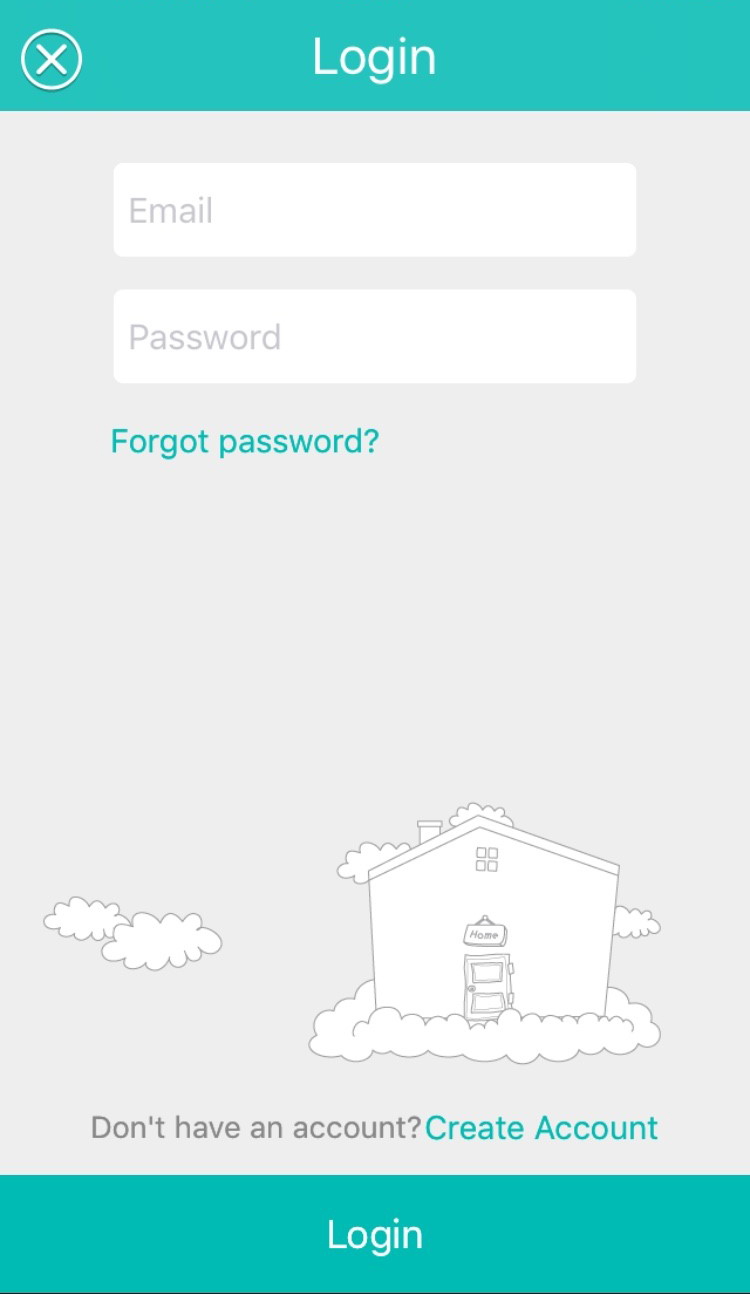
1. Enter your account name and password to login to the Beseye App.
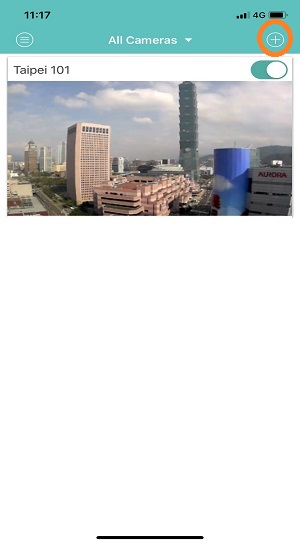
2. Go to [ All Camersa ] and click [+] at the upper right corner of the page.
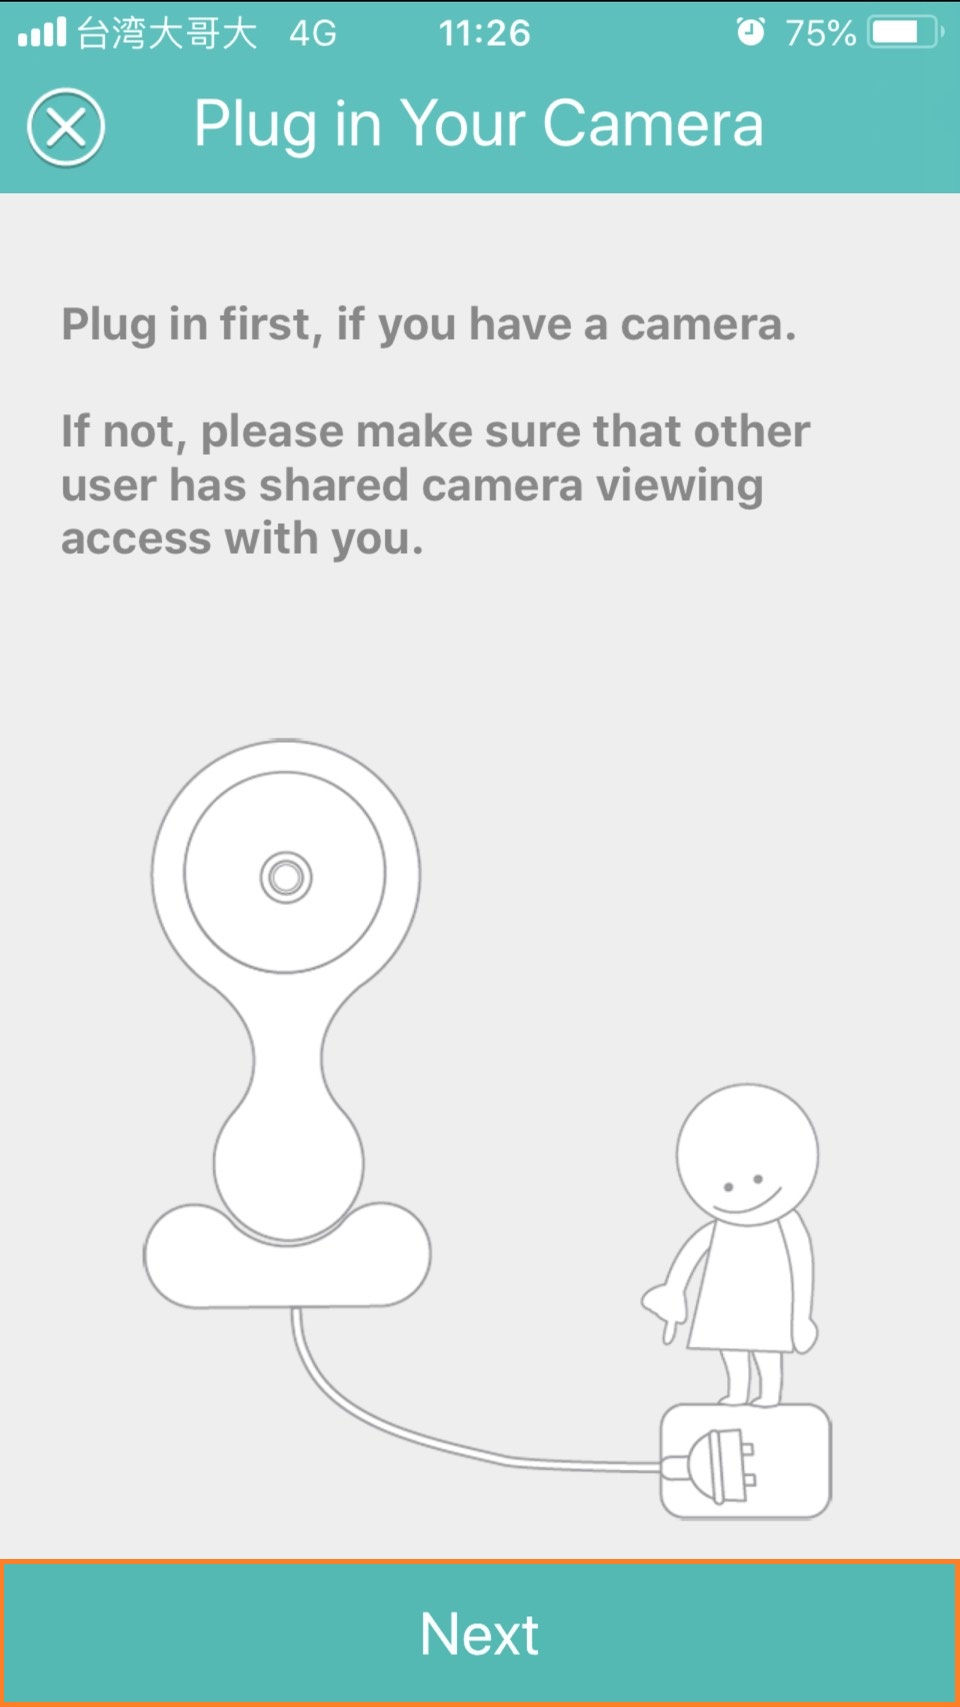
3. Use the included power cable and adapter to plug your camera into a household power outlet and click [Next] to continue.
For the wireless method, implement 4 - 6.
For the wired method, please implement 7 - 8
Wireless connection method (dynamic & static)
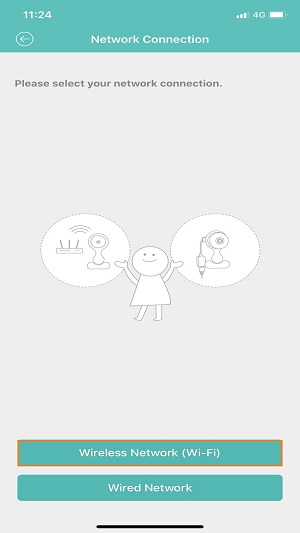
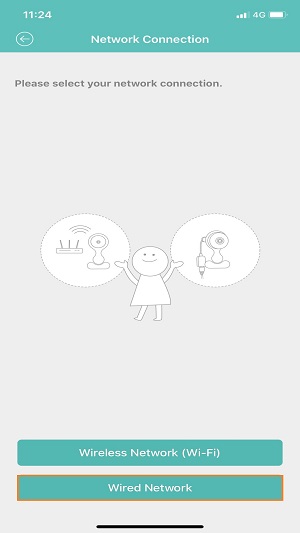
4. Please go back to the Beseye app and select the network connection (select wireless)
※ Please first confirm the mobile device's 2.4G Wi-Fi is connected
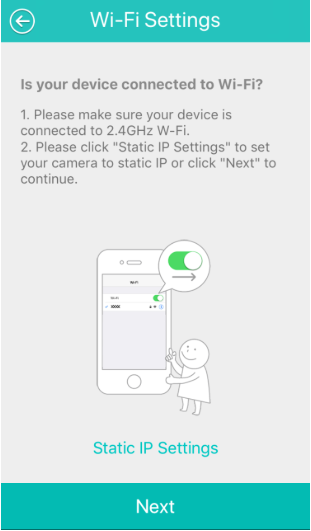
5. Open the Wi-Fi setting page (this page only has IOS mobile phone)
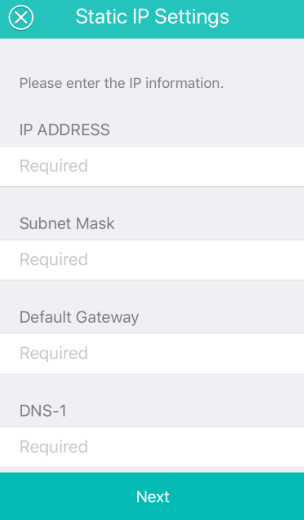
For dynamic IP, please press next step. " For static IP, then select static IP and fill in the static IP information.
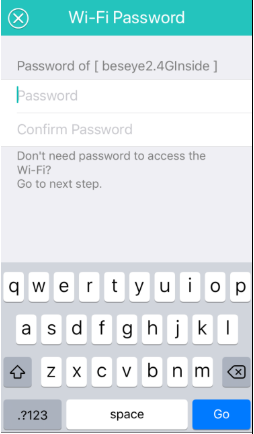
6. Please enter the Wi-Fi password for the Wi-Fi account that your mobile device and Beseye Camera will be using. Once you're done, click Go.
If Wi-Fi is no password, simply click Next.
(after this process is complete, please skip steps 9 - 15 and continue with the pairing process)
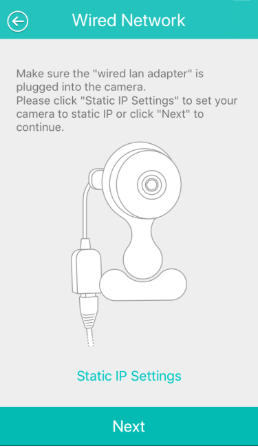
For wired network connection (dynamic IP and static IP)
7. Please return to the Beseye app and select network connection (select wired connection)(please make sure the network cable is connected at this time)
8. For wired network, directly press "next step" for dynamic IP. For static IP, press static IP and fill in the static IP information.
(after completing this process, please complete steps 9 -15 to complete the pairing process)
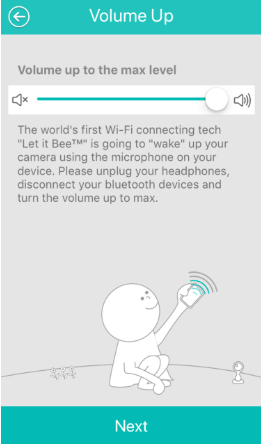
9. To ensure that the Beseye Camera can be successfully connected to your device, please maximize the sound volume of your device.
Once you're done, click Next.
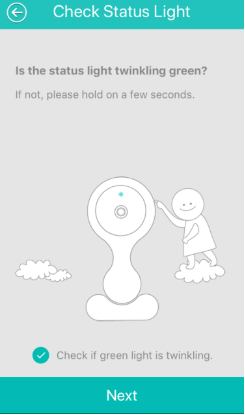
10. Make sure the status indicator light on the lens is flashing green:
Please check if the green light is twinking. If the light is not flashing green, it would mean that the Beseye Camera is still warming up.
You'll just need to wait for a few more minutes!
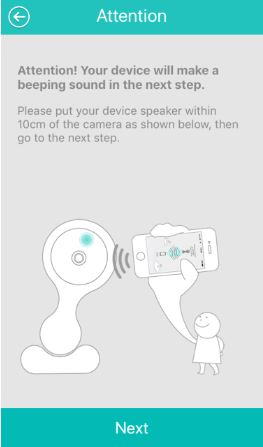
11. Reminder: Your device will make the beeping sound.
Please put the speaker of you devise towards the camera lens and click on Next.
The Beseye Camera will then start connecting to your device. Please wait for the data to complete loading. You will then be redirected to the page for naming the Camera (Please check Step 13 to continue).

12. What should I do if the connection process fails?
Please unplug from power and re-plug, then check if the status indicator light on the lens is green and blinking. Also, make sure that the speaker of your device is less than 10 cm away from the camera lens. Once you've done that, repeat the procedures described in Step 4.
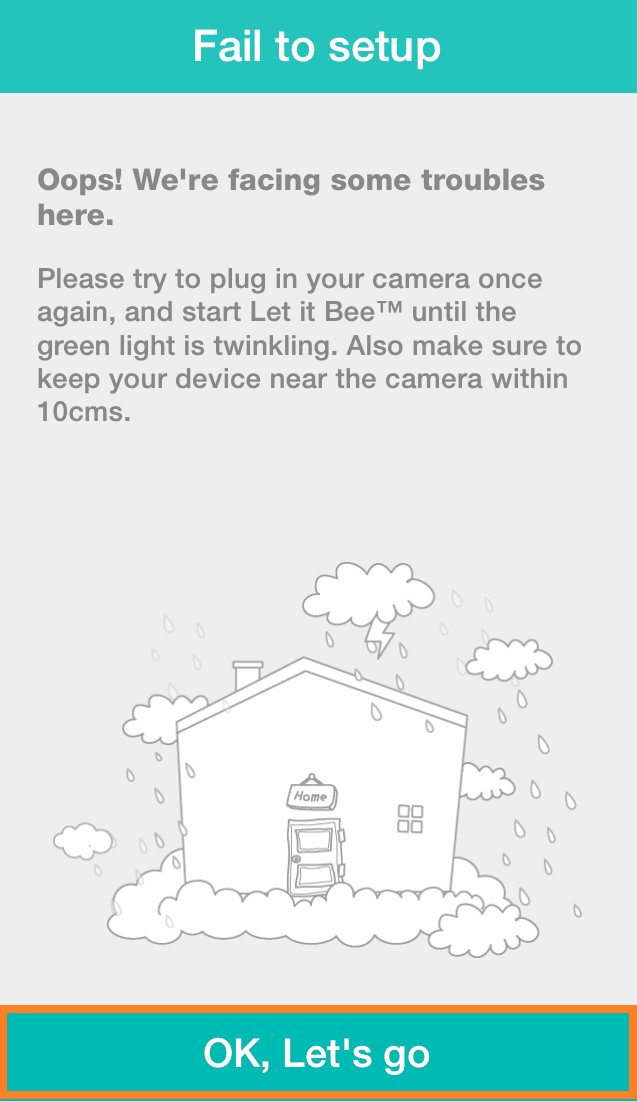
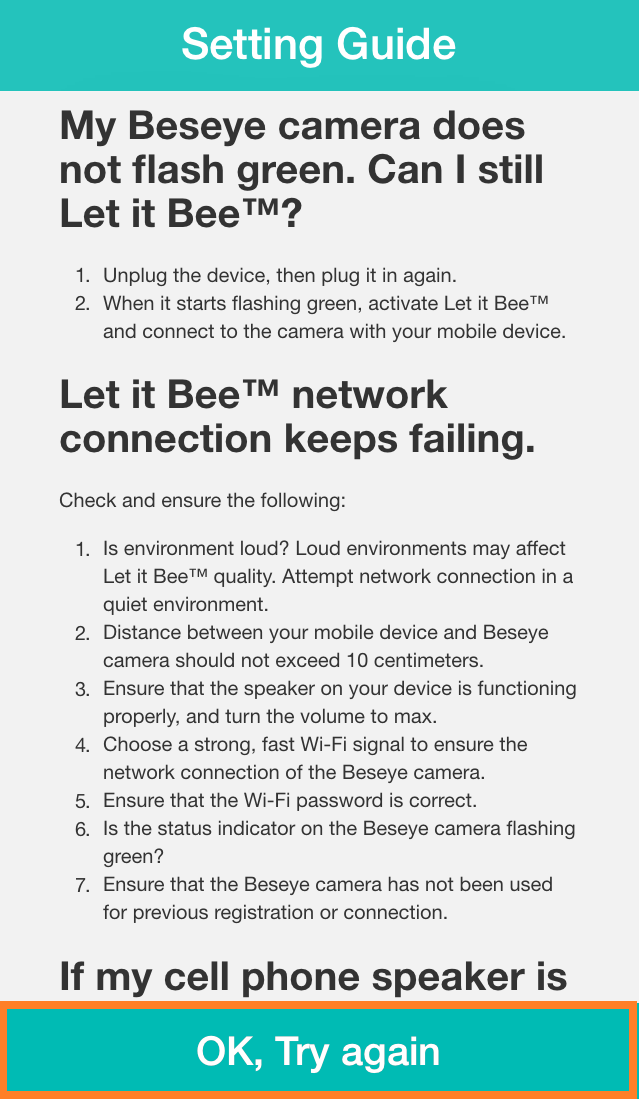
If reconnection fails again, please refer to the Setup Guidelines provided at the reference page in order to troubleshoot.
Please check if the statuses of your mobile device and Beseye Camera are compliant to the installation conditions described in the Setup Guidelines. Once verified, click " OK, Try again. "
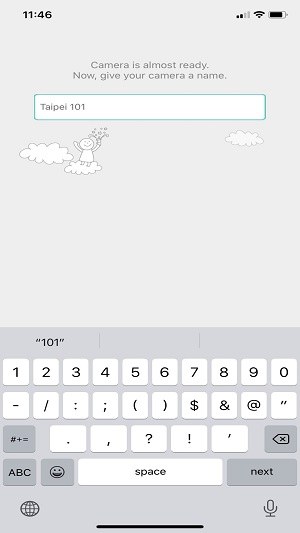
13. Now you can name your Beseye Camera!
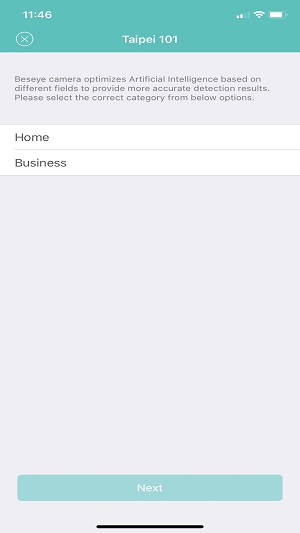
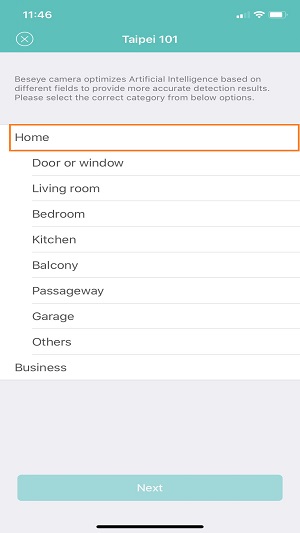
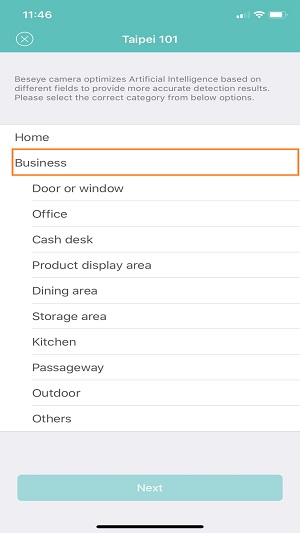
14.Please select the lighting area.
15. Congrats! You've finished setting up your Camera!
You can now unplug the cables and install your Beseye Camera at your desired location. We welcome you to enjoy the great services provided by Beseye and start recording precious moments and pictures from your life! Click [OK] to confirm.
Reference articles:
- How do I Remove A Beseye Cameras From My Account?
- How Many Beseye Cameras Can I Add To A Single Account?
- Now That I’ve Added A New Beseye Camera To my Account, Where Can I View The New Video Recordings?
- How Do I Add A New Beseye Camera Under Your Account?
- I Want To Add A New Beseye Camera To My Account,Will This Lower The Recording Quality Of My Mobile Device?
- Will Adding A New Beseye Camera Within The Same Area Affect Video Playback Quality?
Comments