Please pay attention to the following points when using this feature:
1. The shared account only has viewing rights!
2. If you have multiple Beseye cameras, you can choose to share each camera with users of different accounts freely.
3. Each Beseye camera can be viewed by up to 3 accounts; if your Beseye camera has an additional cloud storage plan, it can be viewed by up to 10 accounts.
Camera sharing can be done through app/web
App :
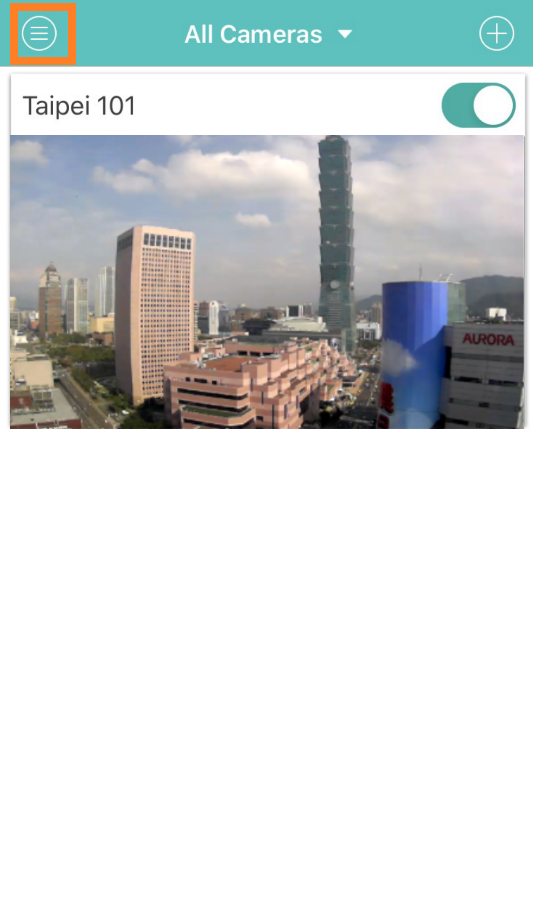
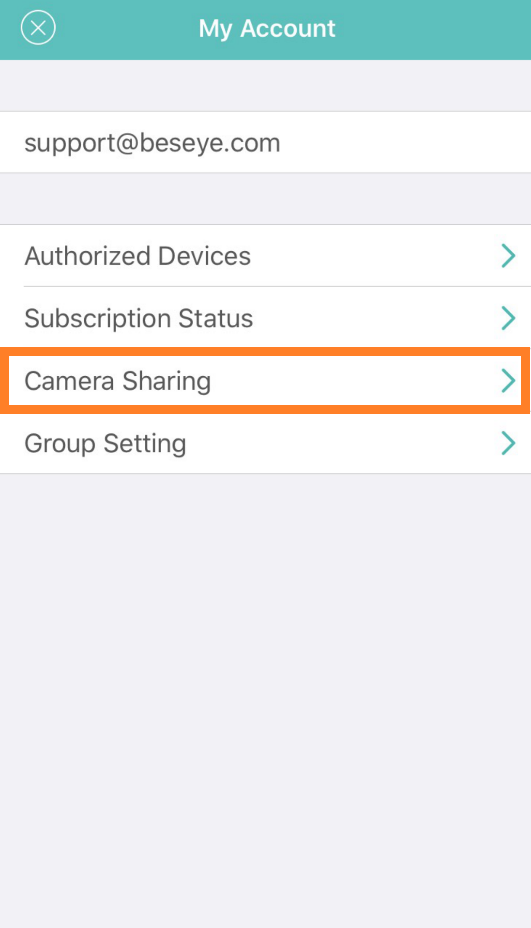
Step1. Please enter my account - click "Camera Sharing"
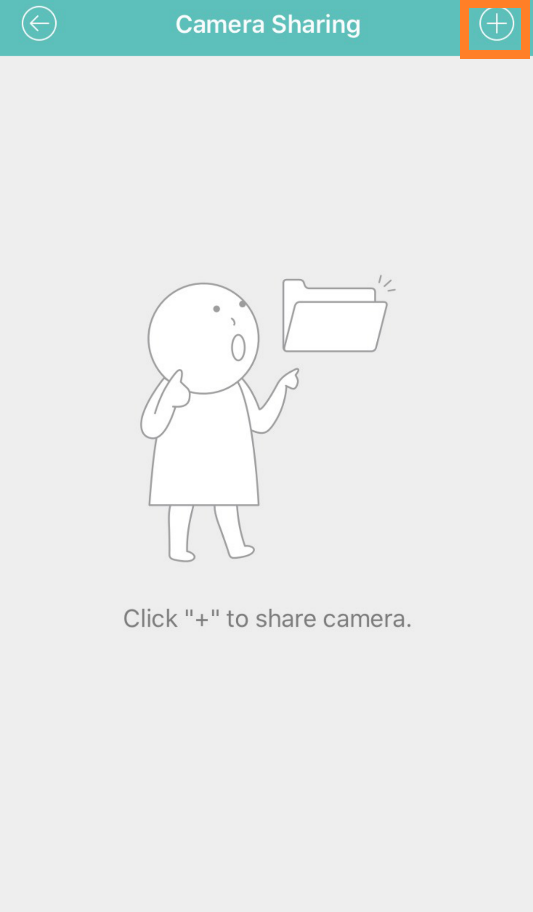
Step2. After entering my account - click on the"+" located on top right
corner

Step3. Add member (fill in the E-mail and name of the person you wish to share to), once finished, press Next.

Step4. Select the shared camera, press share
Step5. Finally, click Close and you have successfully enabled camera sharing for added member

Web :
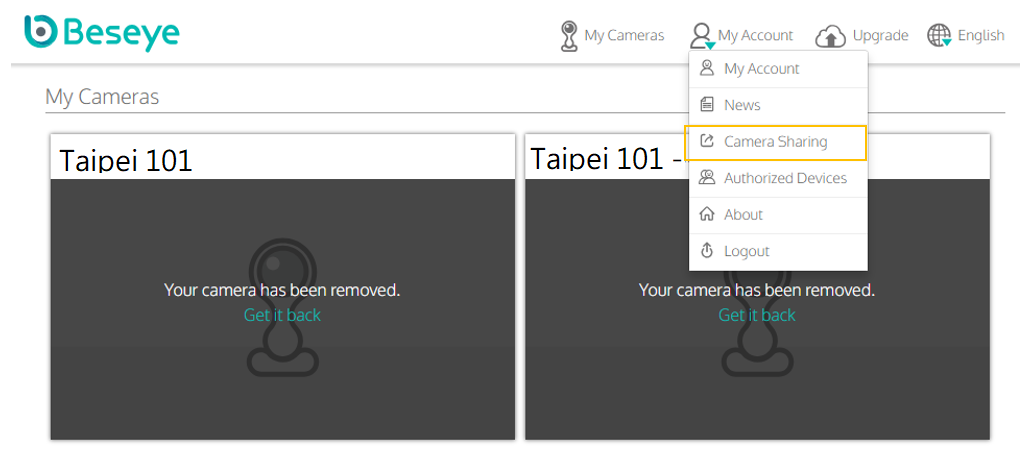
Step1. Please enter my account - click "Camera Sharing"
Step2. After entering my account - click on the "Add Member" located on top right corner

Step3. Add member (fill in the E-mail and name of the person you wish to share to), once finished, press Next.

Step4. Select the shared camera, press share

Step 5. Please press the "Next" button when the last page shows " camera shared" to complete camera sharing with this member.

Attention:
Once a camera has been successfully shared. If the invited person does not have a Beseye camera, the invited person needs to open Beseye app within 24 hours and click "Register" to complete the registration process. If you miss the 24 hr period, please notify the camera owner to re-send camera sharing invitation again.
Comments